Building Your Own Wire Quail Cage Plans and Considerations
Raising quails can be a rewarding endeavor, whether for eggs, meat, or simply as unique pets. One of the most crucial aspects of successful quail husbandry is providing a safe and suitable environment for them to thrive. A wire quail cage offers excellent ventilation, easy maintenance, and deterrence against predators. This article will guide you on how to create your wire quail cage using straightforward plans that require minimal tools and materials.
Understanding Quail Needs
Before diving into construction plans, it's essential to understand what quails need from their habitat. Quails are relatively small birds, but they require more space than you might think, especially if they are expected to thrive. A general guideline suggests that each quail should have a minimum of 1 square foot of space, but more space is always better to prevent overcrowding and stress.
In addition, quails prefer to perch and explore, so a two-level cage can provide both floor space and enrichment. Furthermore, quails are social animals and should ideally be kept in groups. Therefore, keep the size of your cage in mind when planning to house multiple birds.
Materials Needed
To construct your wire quail cage, you'll need the following materials
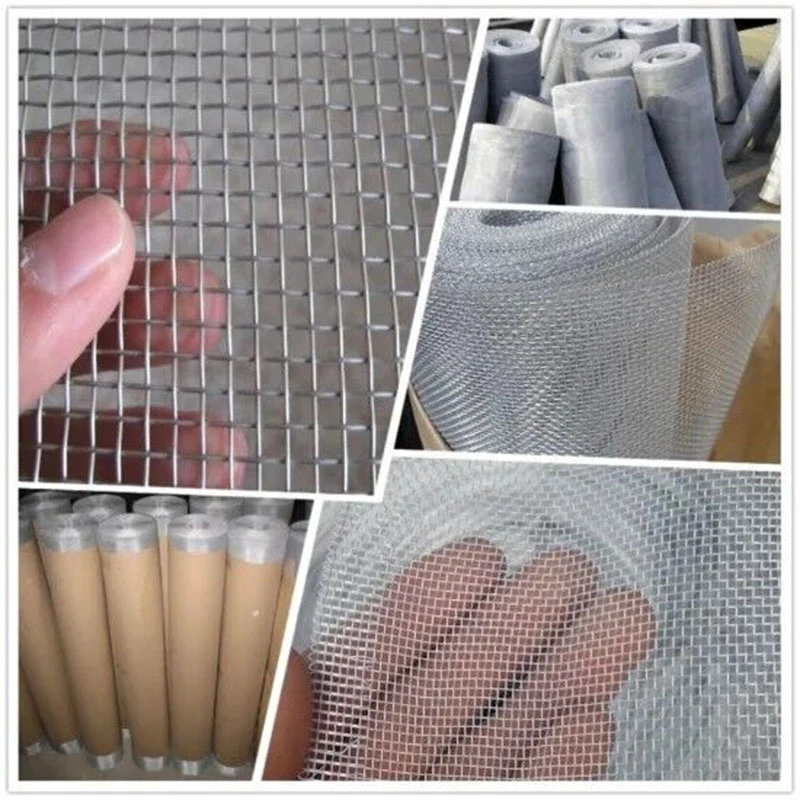
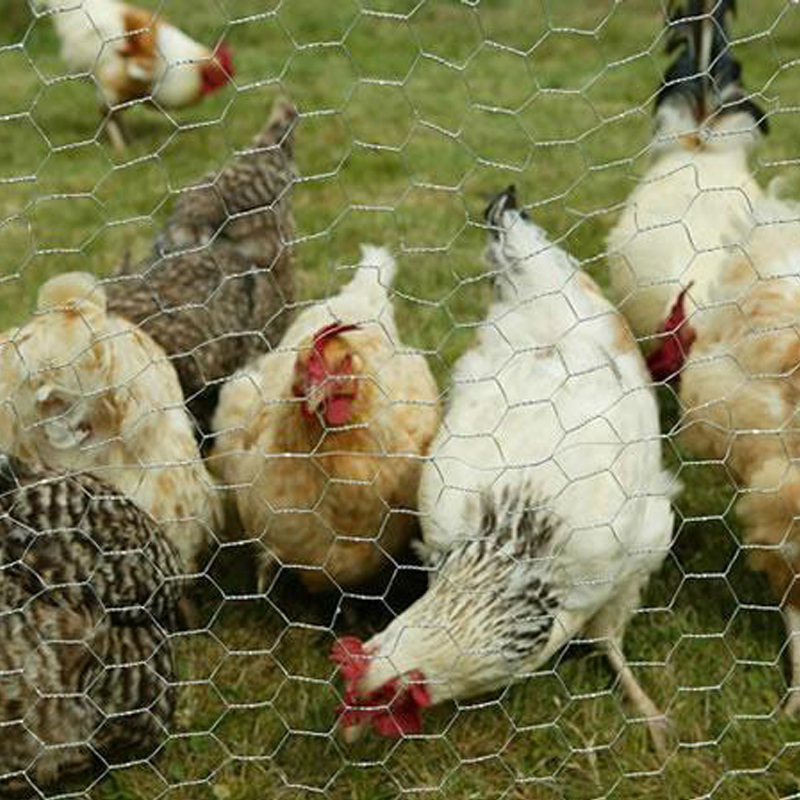
1. Wire Mesh Choose a sturdy, galvanized wire mesh with small openings (1/2 inch or smaller) to keep your quails secure. 2. Wood or Metal Frame This will serve as the structural support for your cage. Treated wood that can withstand moisture is recommended. 3. Hinges and Latches These will be used for the door, ensuring you can access the cage easily while keeping it secure. 4. Tray for Droppings A removable tray made of metal or plastic can help in cleaning and maintaining the cage. 5. Optional Perches and Hiding Spots Adding perches made from wood or dowels, as well as small boxes for hiding, can enhance your quails' environment.
Step-by-Step Cage Plans
wire quail cage plans

1. Design Your Cage Start by sketching out your design on paper. A basic design might include a cage that is 4 feet long, 2 feet high, and 2 feet wide. This allows for adequate space for a small flock while remaining manageable.
2. Build the Frame Use your treated wood or metal to create a rectangular frame based on your design. Ensure the corners are sturdy and that the frame can adequately support the wire mesh.
3. Attach the Wire Mesh Cut the wire mesh to size and carefully attach it to the frame using staples or wire ties. Start with the bottom and work your way up to the sides. Make sure the mesh is taut and secure to avoid any gaps where quails could escape.
4. Create a Door Cut a section of the mesh large enough to serve as a door, and frame this with additional wood or metal for stability. Attach the door using hinges, and ensure that it opens outward for easy access. Add a latch to keep the door securely closed.
5. Construct a Dropping Tray Measure and create a tray that fits comfortably beneath the cage. This tray will collect droppings and can be easily removed for cleaning. Ensure its edges are slightly raised to prevent any mess from escaping.
6. Customize for Comfort Lastly, consider adding perches and hiding spots inside the cage to make it more appealing for your quails. Quails enjoy places to hide and can benefit from elevation to exercise their wings.
Final Touches and Maintenance
Once your cage is built, position it in a controlled environment, away from extreme temperatures and direct sunlight. Make sure your quails have access to fresh water and a balanced diet suitable for their species. Regular cleaning of the tray and ensuring the cage remains dry will help maintain a healthy environment for your birds.
Building a wire quail cage can be an enjoyable project that not only provides a safe home for your birds but also allows you to engage with your new pets. With careful planning and execution, you'll create a comfortable haven for your quails to thrive in!