Nailing plywood to concrete is a common construction practice that comes with its own set of challenges and techniques. Understanding how to properly execute this task is crucial for ensuring structural integrity and achieving the desired results in various building projects.
Understanding the Need for Plywood on Concrete
Plywood is often used in construction for its strength, versatility, and ease of handling. It serves as a perfect subfloor or an underlayment in many situations, providing a smooth surface for flooring, reducing the chances of moisture ingress, and enhancing insulation properties. When installing plywood over concrete, it is essential to secure it properly to prevent gaps, warping, and other issues that can affect the overall stability of the flooring.
Preparing the Surface
Before starting the installation, it is vital to prepare the concrete surface. This includes cleaning the area to remove any debris, dust, or grease, which could interfere with the adhesion of the plywood. Assess the concrete for any cracks or imperfections, as these can impact the performance of the plywood. Filling in cracks with a concrete filler is recommended to ensure an even surface.
Choosing the Right Fasteners
Not all nails are created equal, especially when it comes to fastening plywood to concrete. Using concrete nails or concrete screws is essential for achieving a secure attachment. Concrete nails should be of sufficient length to penetrate at least an inch into the concrete for optimal hold. For heavier-duty applications, consider using expansion anchors or masonry screws, which can provide added strength and stability.
nail plywood to concrete
The Nailing Process
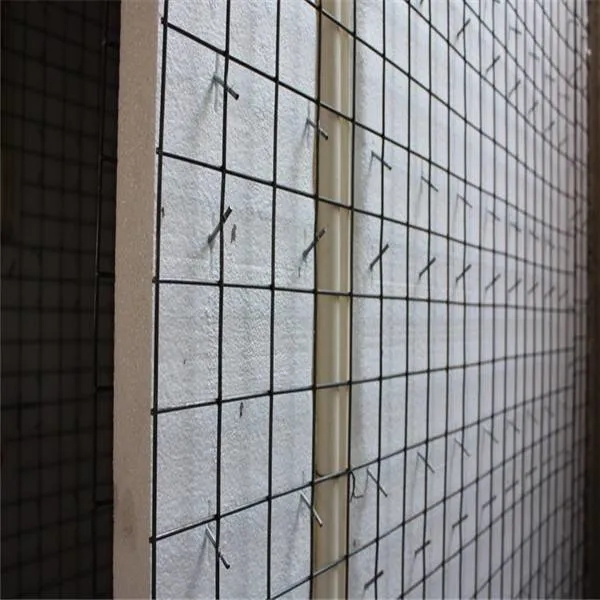
The process of nailing plywood to concrete involves careful planning and execution. Start by laying down the plywood sheets in the desired configuration, ensuring that they are staggered for added strength and stability. Mark the location of the nails evenly across the planks, typically every 12 inches along the edges and every 16 inches in the field of the board.
Once the plywood is positioned, use a hammer or a pneumatic nailer to drive in the concrete nails. Be cautious not to overdrive the nails, as this can damage the plywood and weaken the hold. When using screws, pre-drilling pilot holes is advisable to prevent splitting the plywood. The use of a power drill equipped with a masonry bit will facilitate this process.
Finishing Touches
After securing the plywood to the concrete, it is essential to finish the project appropriately. Inspect all the fasteners to ensure they are tight and flush with the surface of the plywood. If using screws, consider adding wood glue along the seams for additional bonding strength. Finally, apply a moisture barrier if necessary, particularly in areas prone to high humidity or water exposure, to protect the plywood and extend its lifespan.
Conclusion
Nailing plywood to concrete is an essential skill in construction, requiring a mix of preparation, the right materials, and careful execution. By following these guidelines, you can ensure that your plywood installation is secure, stable, and ready to support whatever flooring or finishing materials may be added on top. Whether improving a home or undertaking a more significant construction project, mastering this technique is a valuable asset in any builder's toolkit.


